VMD Movie Maker: recording movies from molecular simulations
In the realm of scientific communication, the static nature of presentations and scientific papers often fails to captivate our audience and falls short of delivering an engaging and dynamic experience. That’s where the power of movies comes in.
Movies derived from molecular simulations are getting increasingly important, as they offer a visually engaging way to present your work and add a new dimension to your scientific storytelling.
For this reason, they are often included in presentations or as supplementary information in research papers.
If you are wondering how to create these types of movies then you are in the right place.
By the end of this article, you will be armed with the knowledge to generate clips from molecular trajectories using the VMD Movie Maker tool.
Getting Started with VMD Movie Maker
When it comes to transforming molecular trajectories into movies, you’ll find a variety of tools at your disposal.
One of them is the VMD Movie Maker, a popular extension that is installed by default in VMD.
The way it works is pretty straightforward.
The first thing you need to do is to load your trajectory on VMD.
After that, the Movie Maker will simply collect different snapshots from your simulation and assemble all of them into a video.
In other words, if your simulation consists of 100 frames, the Movie Maker will diligently generate 100 individual images, use them to generate a video, and finally delete them. Of course, you can decide how many frames to add to your video but we will discuss this later.
Let’s see how it works in practice.
Adjusting Visualization Settings
Before diving into the process of recording a captivating video of your molecular simulations, there are a few key adjustments you may want to make to ensure optimal results.
Fine-tuning the visualization settings will not only enhance the clarity and aesthetics of your simulations but also create a more engaging experience for your audience.
In this section, we’ll explore five important settings to consider before hitting the record button.
1. Alignment: Keeping the Protein Centered
Proper alignment is crucial to maintain focus on the protein of interest. By aligning your molecular structure, you ensure that it remains centered throughout the simulation, preventing any distractions caused by drift or movement.
To center the protein you can go to:
This will open up the RMSD Trajectory Tool interface.
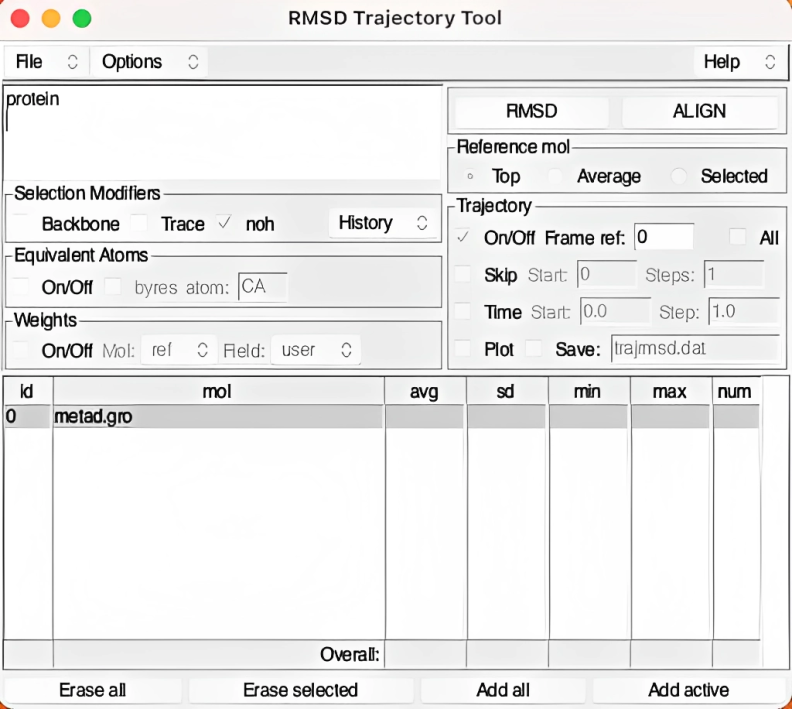
Now you will only need to select the region of the system you want to center through the panel in the upper left corner (protein in this example).
Then, you can click on ALIGN to make sure that the protein is properly centered during the simulation and will not drift away.
2. Representation Adjustment
To enhance the visual quality of your molecular simulations, adjusting the representation settings is essential. Increasing the type and resolution of your representations will provide a finer level of detail, allowing viewers to appreciate the intricacies of the molecular structure.
To change the representation you can go to:
This will open up the Graphical representations menu where you can change the Drawing Method (style) and also the Coloring Method (color) for each component of the system.
Experiment with different representation styles, such as NewCartoon, Surface, or Licorice, to find the most suitable visualization for your specific simulation. Also, make sure to try different colors before proceeding.
3. Change Background Color in VMD
VMD comes with a default black background. If you find that it is not the right color you can change it:
This will open up the Color Controls.
Here you can click on:
Choosing the right background color can greatly impact the overall aesthetic and visual impact of your simulation videos. Consider selecting a background color that contrasts well with your molecular structure, allowing it to stand out prominently.
White is generally the way to go.
4. Axis Removal
A common source of annoyance when recording videos in VMD is the presence of the axis in the bottom left corner of the display. However, removing these axes is a simple process that can greatly enhance the visual experience.
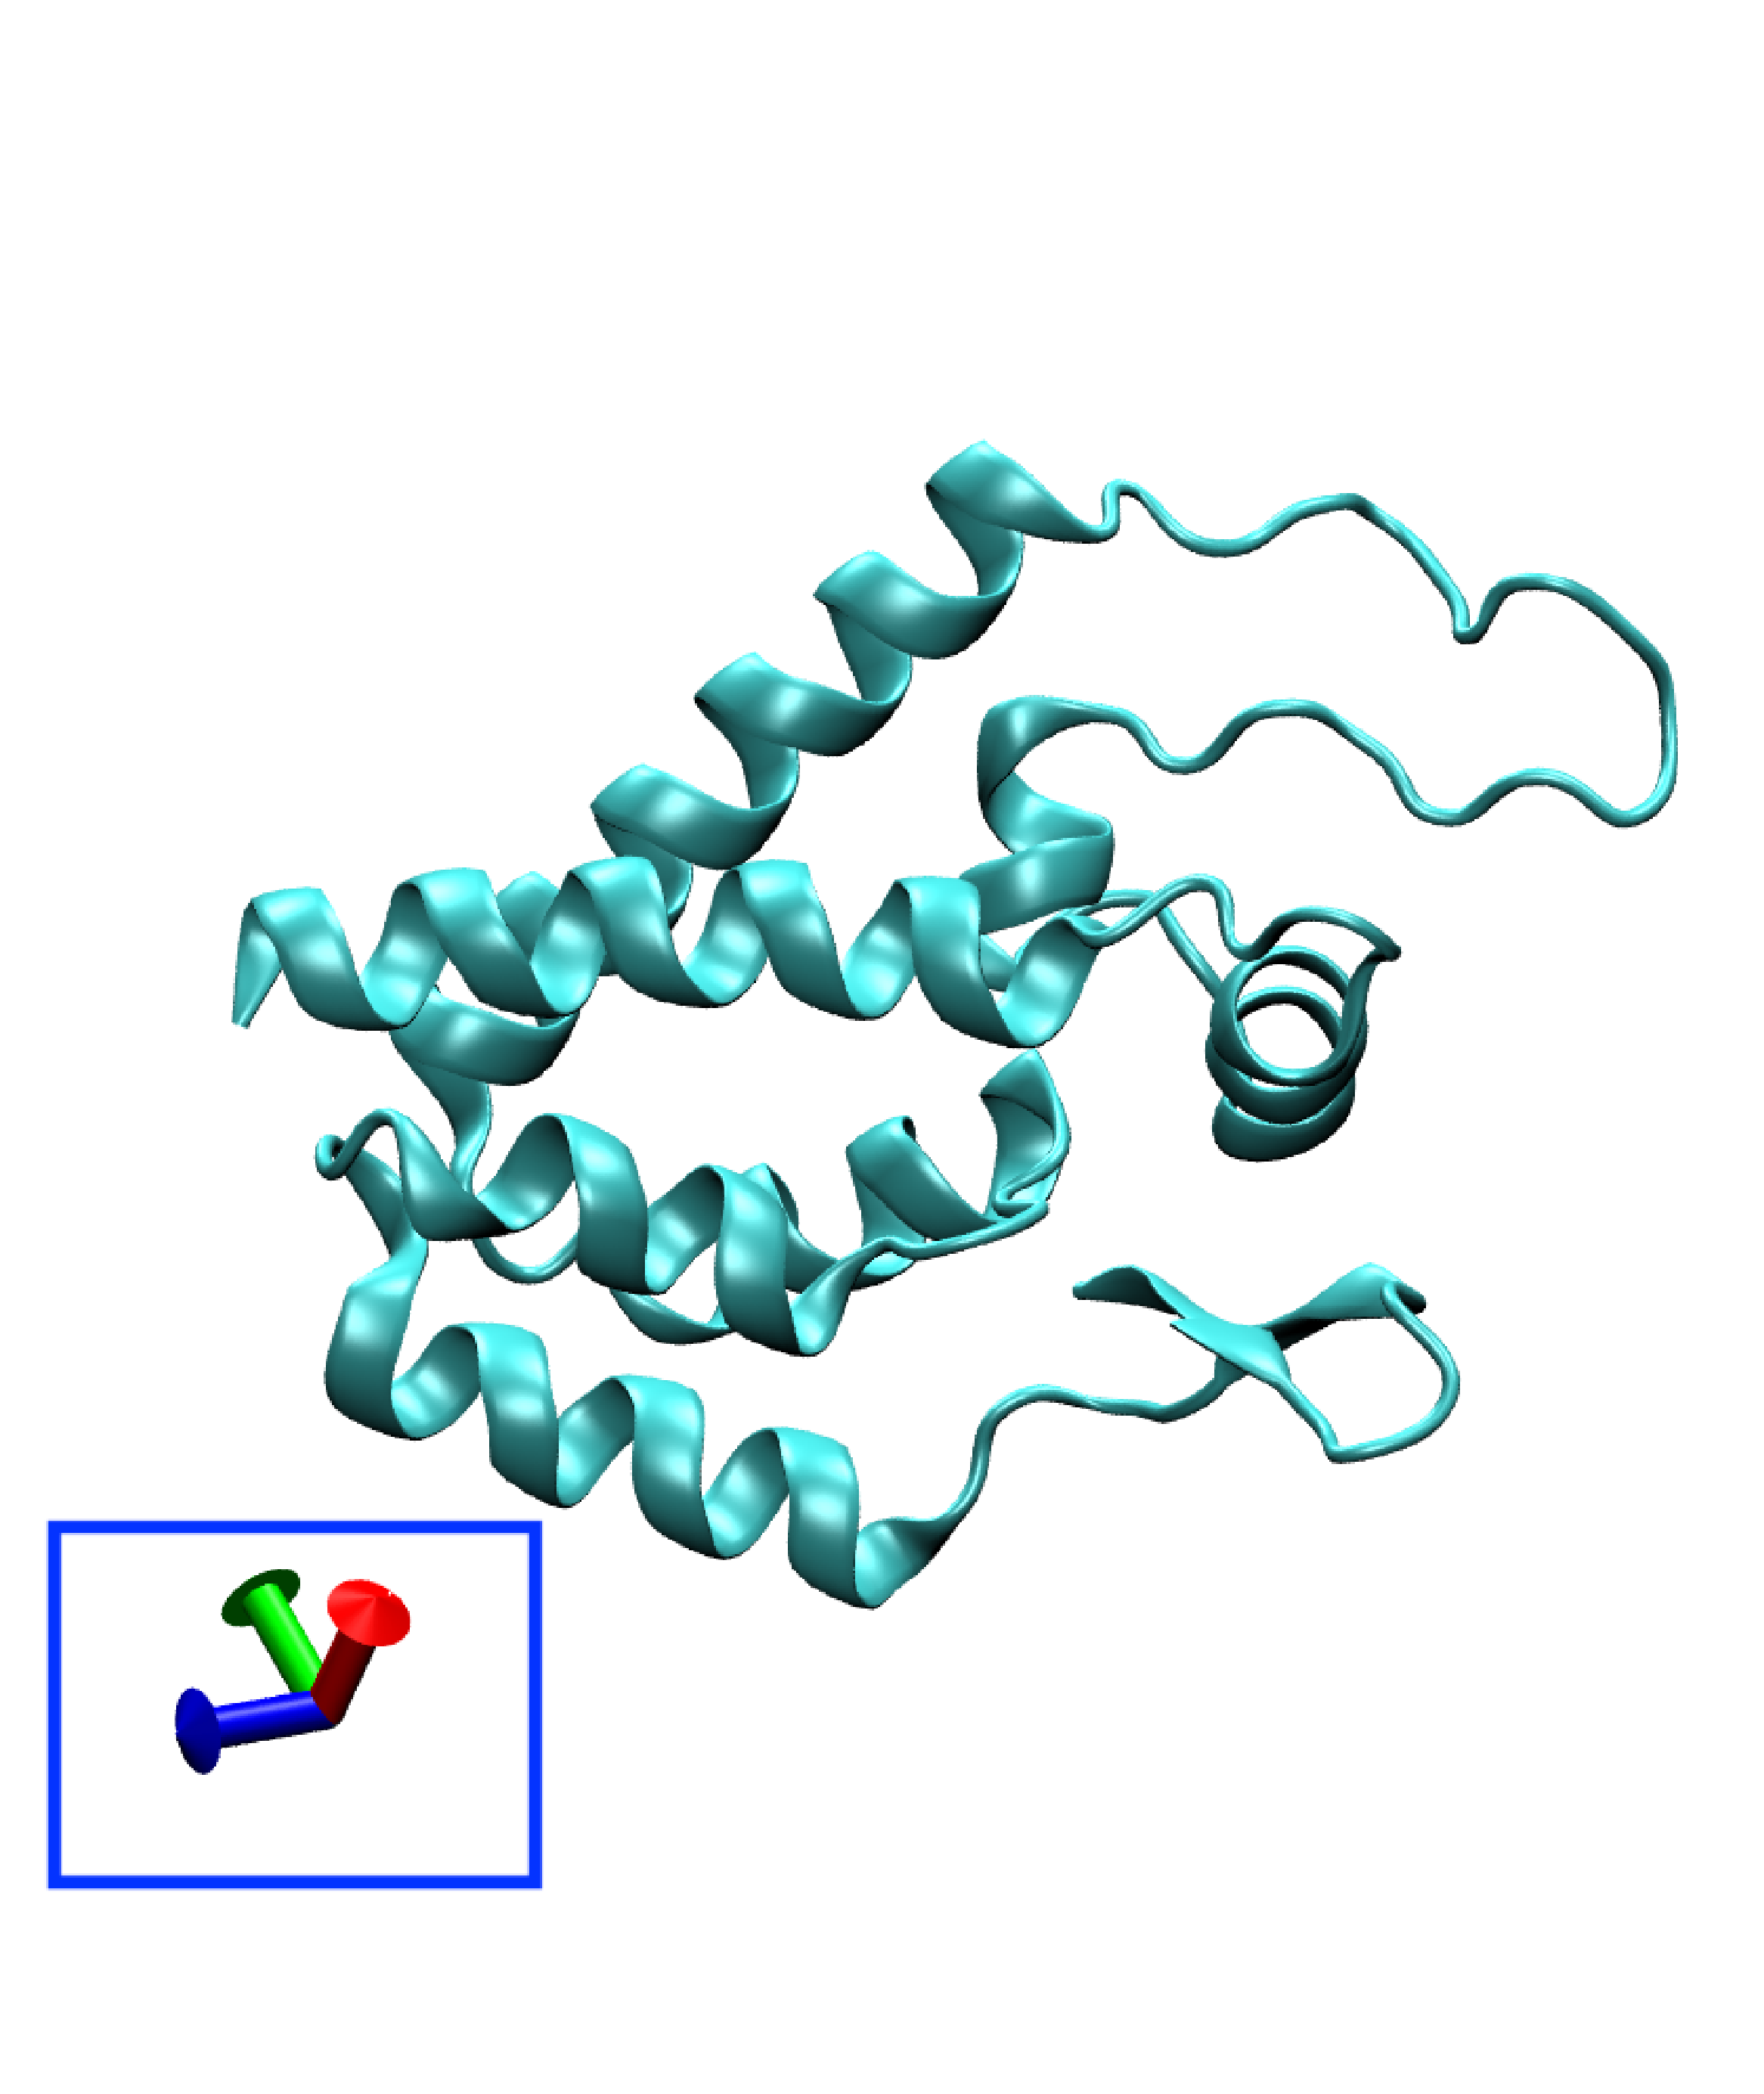
To remove them:
This simplification eliminates any unnecessary distractions and allows your viewers to concentrate solely on the molecular structure and its dynamic behavior.
5. Smoothing the Trajectory: Enhancing Visual Continuity
Molecular simulations often exhibit scattered and jittery behavior, which can affect the overall visual quality of the animation. However, there is a solution to achieve a smoother trajectory: applying trajectory smoothing techniques.
This will result in a more continuous and pleasing motion.
Customize rendering settings
Now that everything is settled we are ready to render our video using the Movie Maker.
To do that can go to:
Extension $\rightarrow$ Visualization $\rightarrow$ Movie Maker.
The VMD Movie Movie Generator will open up.
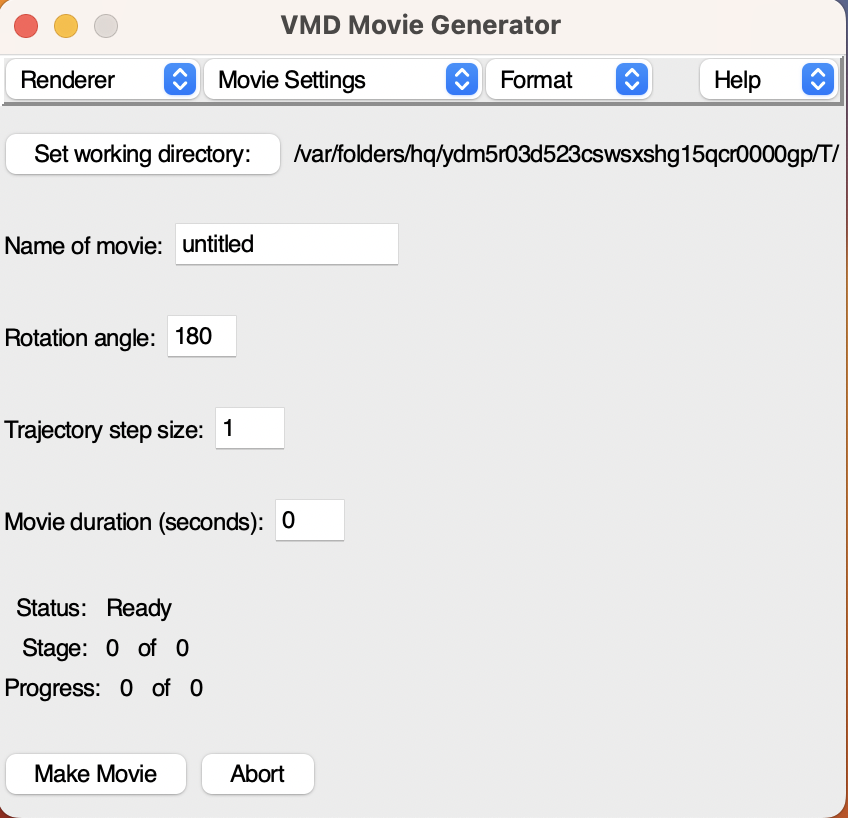
Let’s explain some basic customization before proceeding to the recording.
In the upper part you will find three key options:
- Renderer: The first option allows you to choose the desired renderer for your video output. By default, the Snapshot option captures individual screen frames of your simulation. You can imagine that this will not have the best quality. If you want something more fancy you can use a Ray Tracer such as the Tachyon. It’s important to note that utilizing a Ray Tracer will significantly increase the rendering time, so choose accordingly based on your preferences and project requirements.
- Movie Settings: The second option empowers you to modify the settings of your movie. If you want to record a trajectory you will need to select Trajectory. Additionally, you can explore other video options, such as capturing the system rotating about the Y-axis or other customized movements. By default, the Delete image files option is selected, ensuring that the individual image files generated during the rendering process are automatically deleted. However, if you wish to retain these image files for further use or analysis, simply uncheck this option.
- Format: The final option allows you to specify the movie encoder responsible for merging all the rendered frames into a single cohesive video. In this case, we will utilize the reliable and widely compatible
ffmpegencoder. To select this encoder, navigate to the Format panel and choose MPEG-1.
Render the movie
With all the necessary settings in place, we can now proceed to the actual rendering of the movie using the VMD Movie Maker. Let’s walk through the remaining steps:
-
Set Working Directory: Before rendering the movie, it is important to specify the location where the movie will be saved. This is known as the “working directory.” Choose a suitable directory on your computer where you want the movie file to be stored. This is the directory where the movie will be saved.
-
Name of Movie: Provide a name for your movie file. Pretty self-explanatory.
-
Trajectory Step Size: Select the desired trajectory step size. This value determines how frequently frames will be captured and included in the video. For example, a step size of 10 means that every 10th frame will be captured and included in the final video. Adjust this value based on your preferences and the level of detail you wish to showcase.
-
Movie Duration: The estimated movie duration in seconds will be displayed based on the chosen trajectory step size and the total number of frames in your simulation. This gives you an idea of the expected length of your video.
-
Make Movie: Once all the settings are configured to your satisfaction, simply click on the “Make Movie” button. VMD will commence the process of generating pictures for each frame of the trajectory. Once the rendering is complete, the individual image files will be deleted, and you will be presented with a consolidated video file in the
mpgformat.
By following these steps, VMD will efficiently generate the frames, compile them into a movie, and deliver a high-quality mpg video file that you can view or share.
If you encounter any issues with ffmpeg or face difficulties in visualizing videos in the mpg format, here are some solutions:
-
Download
ffmpeg: Ifffmpegis not already installed on your machine, you can easily download it from the official FFmpeg website. Simply visit the website and follow the instructions to install it on your system. -
For Mac Users: If you are using a Macbook, you can utilize the convenient brew package manager to install
ffmpeg. Open your terminal and execute the following commands:Copy code
brew install netpbm brew install ffmpeg -
For Linux Users: Linux users can install
ffmpegby running the following command in the terminal:Copy code
sudo aptitude install ffmpeg
You can also convert the mpg format to the more widely supported mp4 format. To do this, use the following command in the terminal, replacing movie.mpg with the name of your mpg file and output.mp4 with the desired name for the converted mp4 file:
ffmpeg -i movie.mpg output.mp4
Executing this command will initiate the conversion process, resulting in an mp4 video that can be easily viewed and shared.