How to Create Publication-Quality Images in PyMOL: ray tracing, DPI, and export
This article covers everything you need to produce a journal-ready figure in PyMOL: orienting the view, choosing a ray trace mode, setting the background, and exporting a high-resolution PNG. The key command is ray — but knowing the right settings before you run it saves a lot of iteration.
Step 1: Orient and Center the Molecule
The first thing you want to accomplish to generate an image is to adjust the view of the molecule or protein structure. You can use your mouse to get the view that best fits your needs but you can also use the command line to make sure that the system is properly oriented and centered in the interface. To this aim, we can use the orient and center commands in PyMOL.
To orient your system with the XYZ axis you can type:
|
|
If you want to center it you can use:
|
|
Both of these commands can be used with a selection meaning that you can choose a set of atoms and use them to orient or center your system based on them. If you are not familiar with the PyMOL selection tool you can find more info here
To center your view on residue 110:
|
|
To orient the view on a ligand named LIG you can use:
|
|
Step 2: Render with the ray Command
Here comes the best part. If you are here you are probably wondering how to render high-quality images with PyMOL. The good news is that this process is quite intuitive in PyMOL.
This is due to the built-in ray tracing technology that allows you to generate high-quality images of molecular structures with realistic shadows, reflections, and transparency effects. The kind of fancy images you generally find in papers and presentations.
As already mentioned, the procedure is quite easy.
You just need to set up the view according to your needs, and then you can simply type ray in the PyMOL command line and hit enter:
|
|
Easy as that. PyMOL will then start the ray tracing process and generate an image of the current scene, which you can export and use as you want.
You can also specify different parameters to control the ray-tracing process. Among others, you can choose to scale the width and height of the figure:
|
|
For instance:
|
|
will ray trace the current scene, but scaled to 1280x720 pixels.
Choosing a Ray Trace Mode
It’s not over yet. PyMOL also offers different ray trace modalities.
You can choose them with the set ray_trace_mode command. Four modes are available and you can select them with 0, 1, 2, and 3. After the selection, you simply need to run the ray command to start the rendering.
Here is what they look like:
set ray_trace_mode, 0: The default rendering mode for PyMOL displaying natural colors.
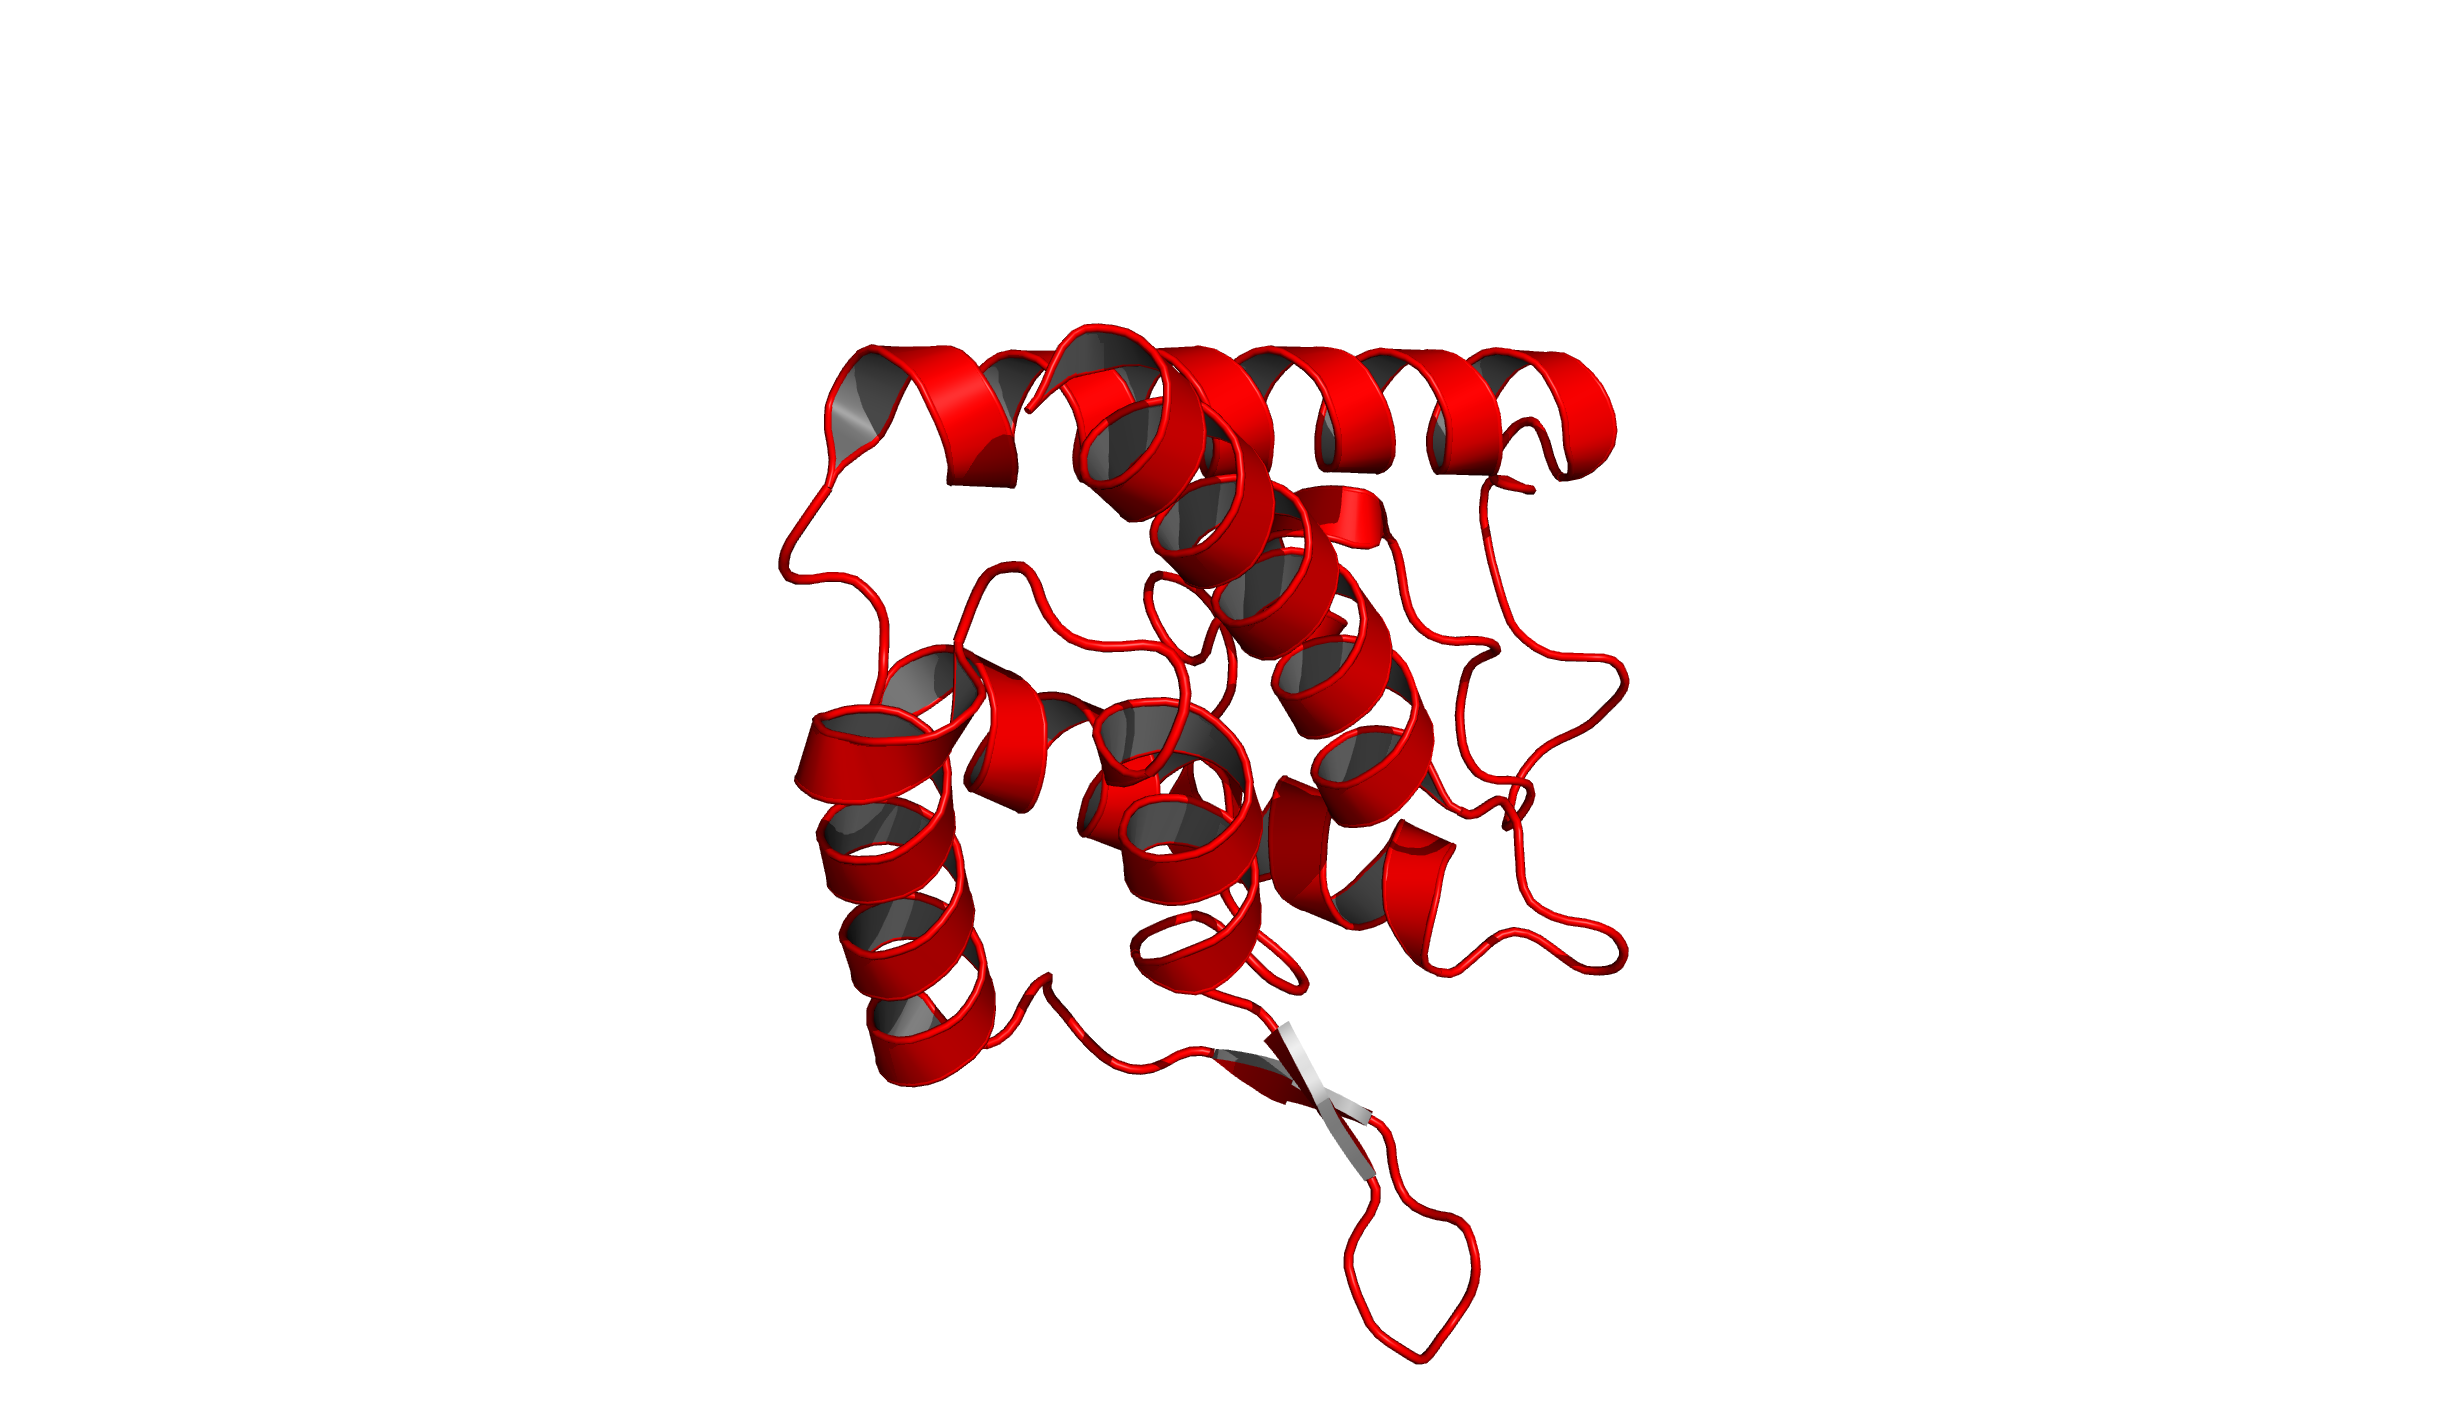
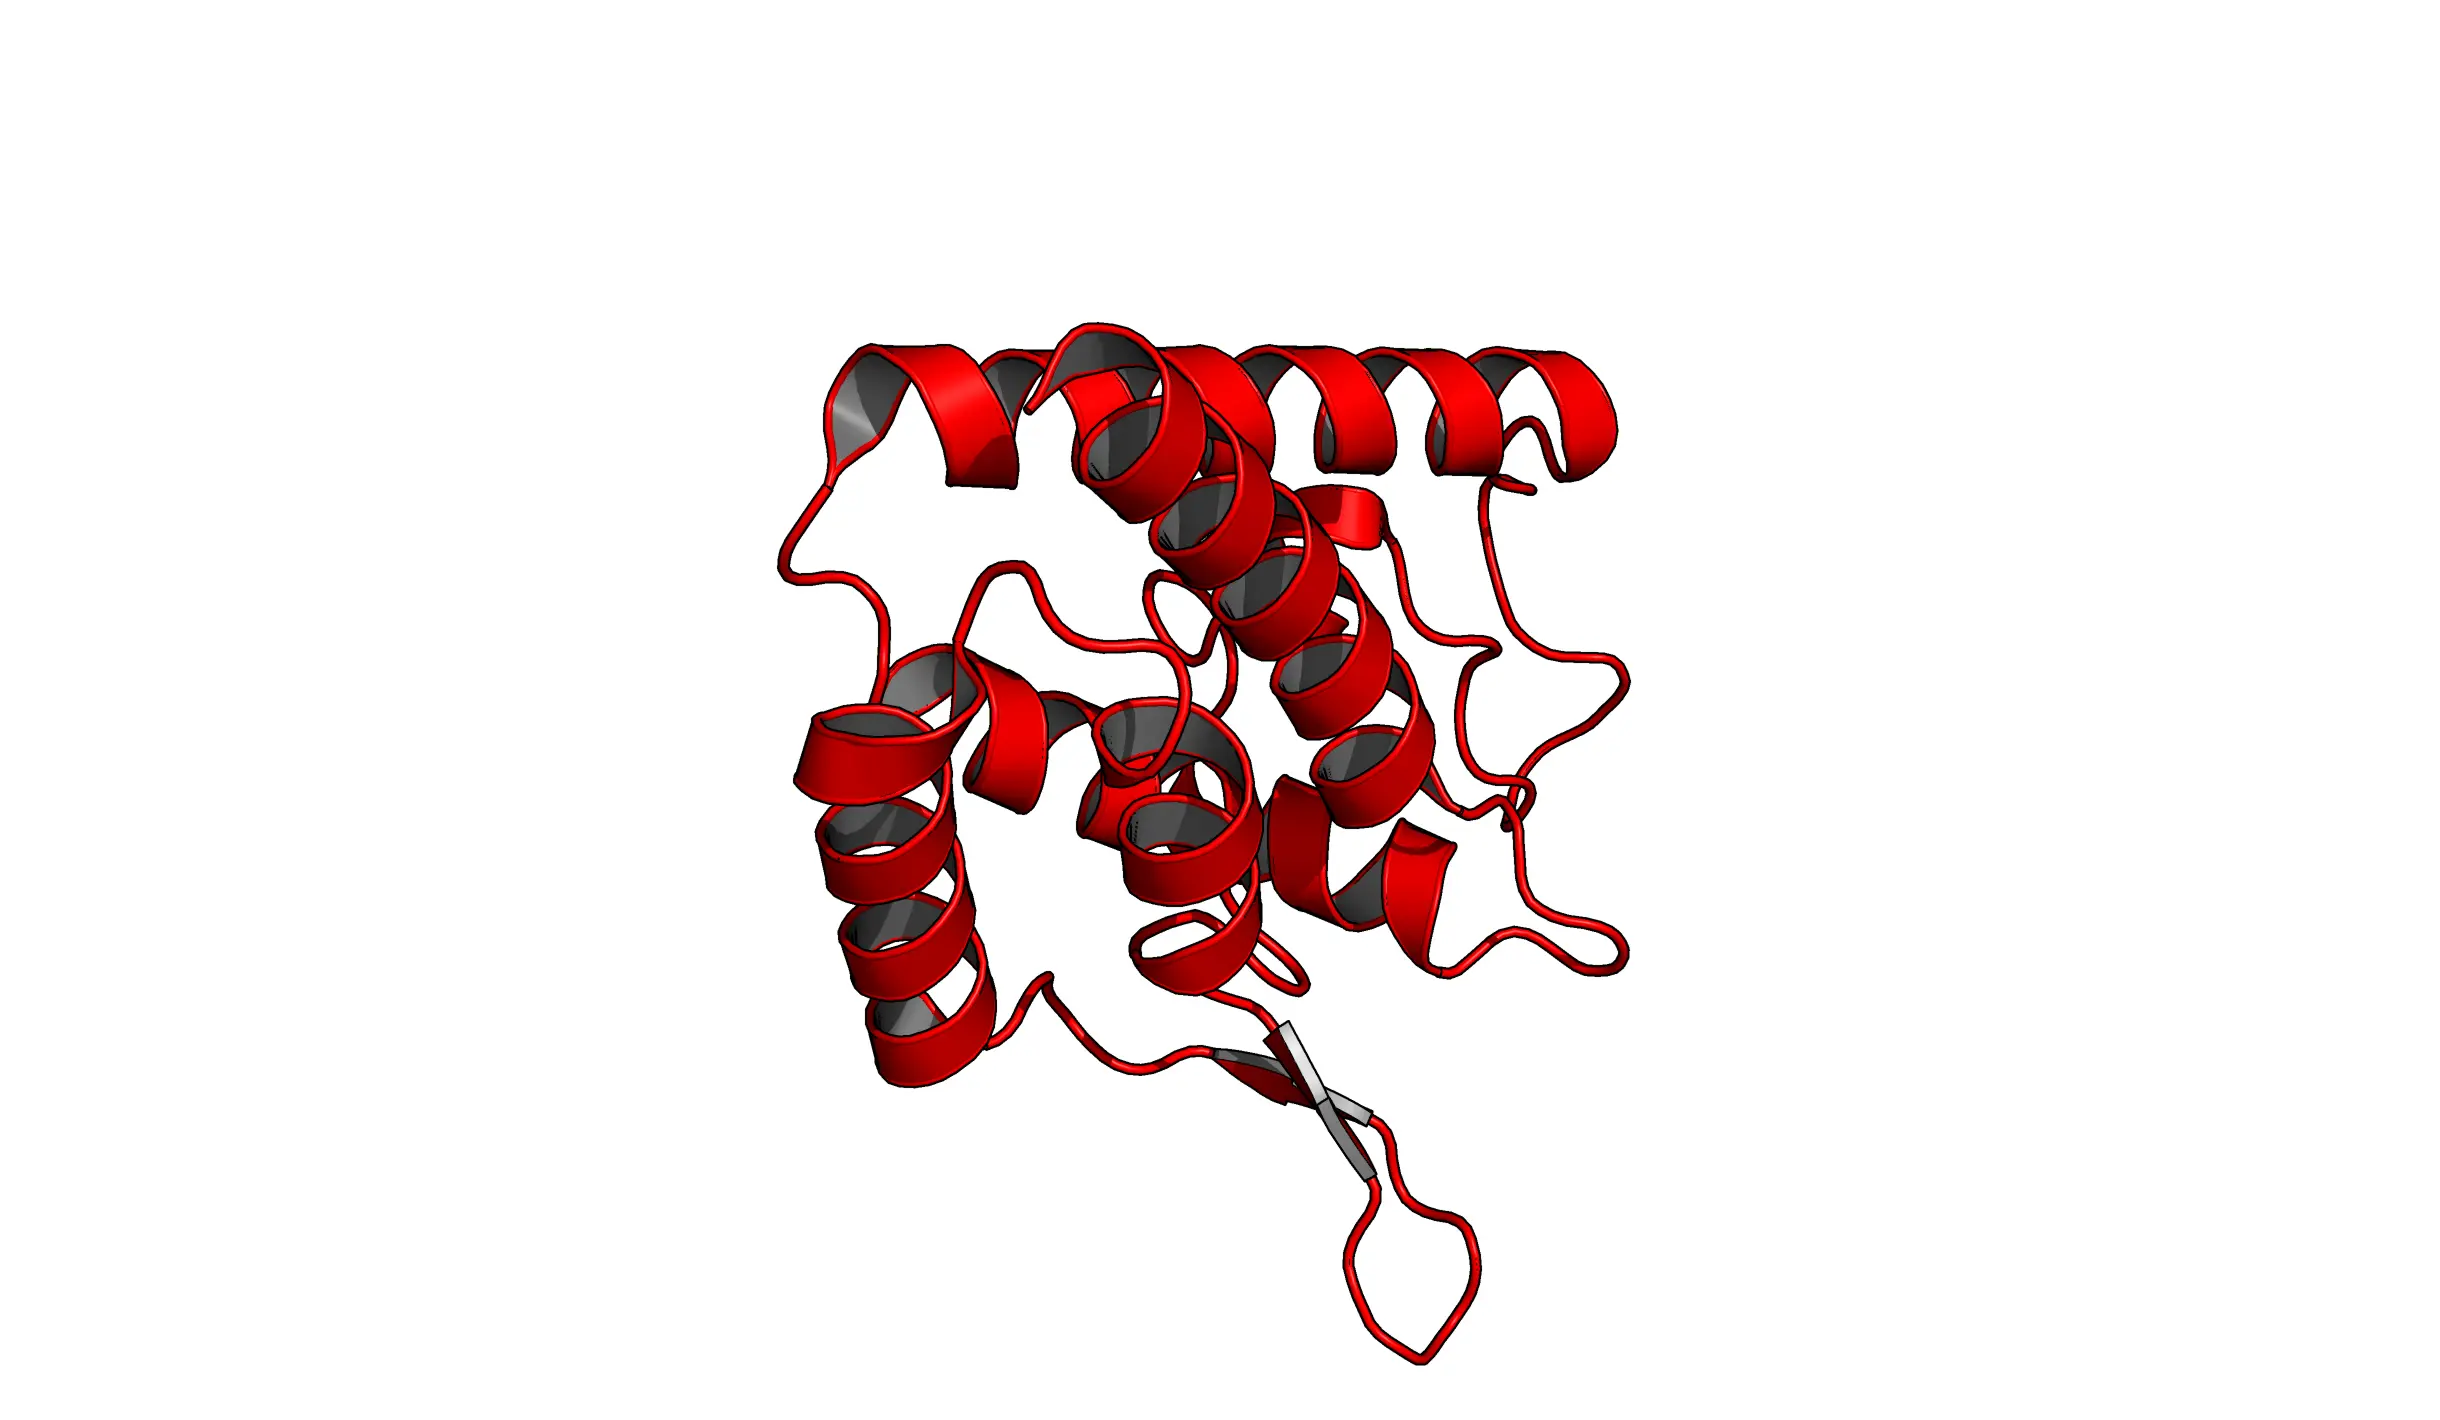
set ray_trace_mode, 1: This mode gives natural colors with black outlines.
set ray_trace_mode, 2: Black outline with no colors.

set ray_trace_mode, 3: quantized color with black outline.

Notice that you can change the color of the outline with the set ray_trace_color command.
|
|

Step 3: Set the Background Color
A black background color is rarely useful for publication types of images. Therefore, while we already discuss how to change the color and the appearance of your system here, we still need to discuss how to change the background color in PyMOL.
To change the background color in PyMOL use the bg_color command followed by the color you want.
|
|
Some examples:
|
|
In some cases, you may also want to create a representation of your system with an opaque background. This is especially useful when you want to overlay your molecular structure on top of another image or integrate it into a larger design (e.g., a poster or a presentation).
To achieve this you need to use the set ray_opaque_background command. You can set the opaque background on or off:
set ray_opaque_background, on$\Rightarrow$ Non-transparent backgroundset ray_opaque_background, off$\Rightarrow$ Transparent background
This will make the background transparent and export the image with a transparent background:
|
|
The image from PyMOL will be shown over a checkerboard and will only appear transparent once you export it.
Step 4: Export the Image with the png Command
After running ray, the rendered image is visible in the PyMOL viewer but not yet saved to disk. Use the png command to export it:
|
|
Most journals require a minimum of 300 DPI. Set it explicitly with the dpi argument:
|
|
For figures with fine structural details (bonds, labels), 600 DPI is safer. A complete publication workflow in four commands:
|
|
This gives you a white-background, black-outlined, 1080p image at 300 DPI — ready for submission.